Containerize WordPress with NGINX, PHP, MySQL, and phpMyAdmin using Docker Containers
It provides all the steps required to containerize the WordPress application using NGINX Web Server, MySQL, PHP, and phpMyAdmin using Docker Containers.
We can containerize our applications using Docker to have a separate installation of the required packages with the application-specific versions independent of the underlying operating system. We can use Docker Containers to make our application portable so that we can simply move it to another system having docker. This tutorial provides all the steps to containerize a WordPress application using NGINX Web Server as the web server and MySQL as the database server. This tutorial provides the steps to download the WordPress source and install it instead of using the official docker image of WordPress.
Prerequisites
Windows - How To Install WSL 2 (Windows Subsystem for Linux) with Ubuntu On Windows 10 and How To Install Docker Desktop On Windows 10. Optionally you may follow How To Change Docker Data Path On Windows 10.
Ubuntu - How To Install Docker Engine on Ubuntu 20.04 LTS, How To Install Docker Engine on Ubuntu 20.04 LTS
macOS - How To Install Docker Desktop On Mac
Install PHP and NGINX Web Server
Create a directory to store your project-specific files. I have created the directory helloworld to store all the project files. Now create the file docker-compose.yml at the root of your project directory as shown below.
# docker-compose.yml
version: "3.8"
services:
  nginx:
    container_name: nginx
    build: ./docker/nginx
    command: nginx -g "daemon off;"
    links:
      - php
    ports:
      - "80:80"
    volumes:
      - ./logs/nginx:/var/log/nginx
      - ./src:/var/www/html
  php:
    container_name: php
    build: ./docker/php
    ports:
      - "9000:9000"
    volumes:
      - ./src:/var/www/html
    working_dir: /var/www/html
Now create the directories - docker, logs, and src within the project root directory. Also, create two directories within the docker directory i.e. php and nginx. Also, create the directory nginx within the logs directory.
Create the Dockerfile within the PHP directory as shown below.
# docker/php/Dockerfile
FROM php:8.2-fpm
Create the Dockerfile within the NGINX directory as shown below.
# docker/nginx/Dockerfile
FROM nginx:1.23
Create the index.php file within the src directory as shown below.
# src/index.php
<?php
echo phpinfo();
We also need to configure the Server Block or Virtual Host to pass the PHP requests to PHP-FPM vial port 9000. Now, create the default configuration file as shown below.
# docker/nginx/default.conf
server {
	listen 80;
	index index.php index.htm index.html;

	root /var/www/html;

	error_log  /var/log/nginx/error.log;
	access_log /var/log/nginx/access.log;

	location ~ \.php$ {
		try_files $uri =404;
		fastcgi_split_path_info ^(.+\.php)(/.+)$;
		fastcgi_pass php:9000;
		fastcgi_index index.php;
		include fastcgi_params;
		fastcgi_param SCRIPT_FILENAME $document_root$fastcgi_script_name;
		fastcgi_param PATH_INFO $fastcgi_path_info;
	}
}
Now, update the Dockerfile within the NGINX directory as shown below.
# docker/nginx/Dockerfile
FROM nginx:1.20

ADD default.conf /etc/nginx/conf.d/default.conf
After creating all the directories and files, the directory structure should be similar as shown below.
helloworld
-- docker
   -- php
      -- Dockerfile
   -- nginx
      -- Dockerfile
      -- default.conf
-- logs
   -- nginx
-- src
   -- index.php
-- docker-compose.yml
Now, run the command docker-compose build to build the images for PHP and NGINX Web Server.
# Build
cd <path to project>/helloworld
docker-compose build

# Output
Building php
Sending build context to Docker daemon  2.048kB
Step 1/1 : FROM php:8.2-fpm
8.2-fpm: Pulling from library/php
3f9582a2cbe7: Pull complete
0b95dc92ce55: Pull complete
3630ff9f8131: Pull complete
49efbc577363: Pull complete
0baf9d6a21f0: Pull complete
6a0351e52120: Pull complete
6ac9b702a21d: Pull complete
3885ea197c94: Pull complete
6ae39ff9d821: Pull complete
bf6181b11c0d: Pull complete
Digest: sha256:014fdf6a442664eacd96186d4a2d7a798a98bd29a5fe74de9cea415a88724d50
Status: Downloaded newer image for php:8.2-fpm
 ---> b91bdffcd9df
Successfully built b91bdffcd9df
Successfully tagged helloworld_php:latest
Building nginx
Sending build context to Docker daemon  3.072kB
Step 1/2 : FROM nginx:1.23
1.23: Pulling from library/nginx
3f9582a2cbe7: Already exists
9a8c6f286718: Pull complete
e81b85700bc2: Pull complete
73ae4d451120: Pull complete
6058e3569a68: Pull complete
3a1b8f201356: Pull complete
Digest: sha256:aa0afebbb3cfa473099a62c4b32e9b3fb73ed23f2a75a65ce1d4b4f55a5c2ef2
Status: Downloaded newer image for nginx:1.23
 ---> 904b8cb13b93
Step 2/2 : ADD default.conf /etc/nginx/conf.d/default.conf
 ---> 560007963671
Successfully built 560007963671
Successfully tagged helloworld_nginx:latest
After completing the build, we can run the application using the command shown below.
# Launch Application
docker-compose up

# Output
Creating network "helloworld_default" with the default driver
Creating php ... done
Creating nginx ... done
Attaching to php, nginx
Now open the browser and enter the URL - http://localhost/index.php. It should show the output of index.php as shown in Fig.1.
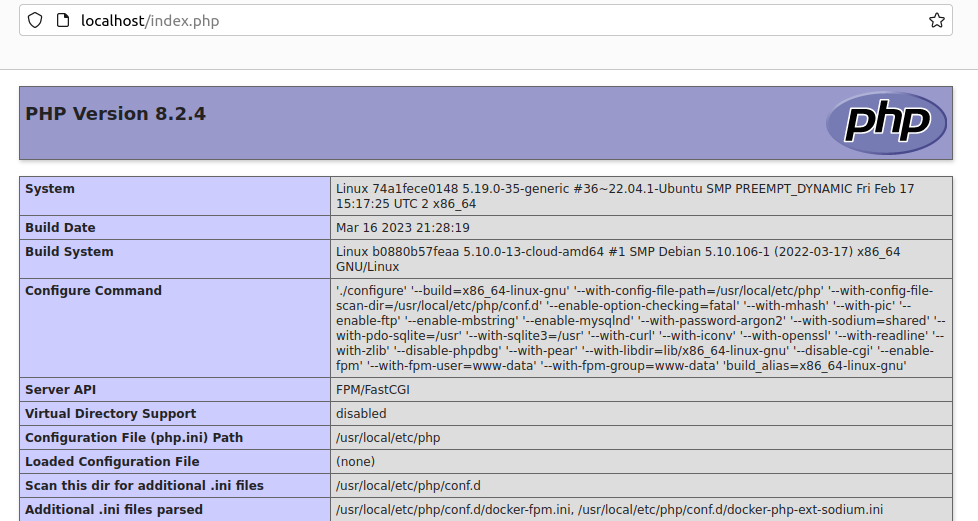
Fig 1
Press Ctrl + C to stop the containers.
Install MySQL and phpMyAdmin
In this step, we will continue with our previous step and install MySQL and phpMyAdmin. Now, update the docker-compose.yml as shown below.
# docker-compose.yml
version: "3.8"
services:
  nginx:
    container_name: nginx
    build: ./docker/nginx
    command: nginx -g "daemon off;"
    links:
      - php
    ports:
      - "80:80"
    volumes:
      - ./logs/nginx:/var/log/nginx
      - ./src:/var/www/html
  php:
    container_name: php
    build: ./docker/php
    links:
      - mysql
    ports:
      - "9000:9000"
    volumes:
      - ./src:/var/www/html
    working_dir: /var/www/html
  mysql:
    image: mysql:8.0.32
    container_name: mysql
    env_file:
      - ./env/mysql.env
    ports:
      - "3306:3306"
    volumes:
      - ./database/mysql:/var/lib/mysql
    command: '--default-authentication-plugin=mysql_native_password'
  phpmyadmin:
    image: phpmyadmin/phpmyadmin
    container_name: pma
    links:
      - mysql
    environment:
      PMA_HOST: mysql
      PMA_PORT: 3306
      PMA_ARBITRARY: 1
    restart: always
    ports:
      - 8085:80
Create the directory env at the root of the project and create the file mysql.env having the configurations as shown below:
MYSQL_ROOT_PASSWORD=rootpassword
MYSQL_DATABASE=helloworld
MYSQL_USER=helloworld
MYSQL_PASSWORD=helloworldpassword
Now, run the command docker-compose build to build the application.
# Build
cd <path to project>/helloworld
docker-compose build

# Output
mysql uses an image, skipping
phpmyadmin uses an image, skipping
Building php
Sending build context to Docker daemon  2.048kB
Step 1/1 : FROM php:8.2-fpm
 ---> b91bdffcd9df
Successfully built b91bdffcd9df
Successfully tagged helloworld_php:latest
Building nginx
Sending build context to Docker daemon  3.072kB
Step 1/2 : FROM nginx:1.23
 ---> 904b8cb13b93
Step 2/2 : ADD default.conf /etc/nginx/conf.d/default.conf
 ---> Using cache
 ---> 560007963671
Successfully built 560007963671
Successfully tagged helloworld_nginx:latest
We also need to run the command docker-compose up to launch the application as shown below. It will pull the MySQL and phpMyAdmin images and take time for the first time. The subsequent launches will be faster.
# Launch Application
docker-compose up

# Output
Pulling mysql (mysql:8.0.32)...
8.0.32: Pulling from library/mysql
767a87c58327: Pull complete
cbd6d17e71a0: Pull complete
9b17ad003fbc: Pull complete
410b54c19b6b: Pull complete
....
....
Status: Downloaded newer image for mysql:8.0.32
Pulling phpmyadmin (phpmyadmin/phpmyadmin:)...
latest: Pulling from phpmyadmin/phpmyadmin
01b5b2efb836: Pull complete
45244a9928d1: Pull complete
....
....
2e982de2b8e5: Pull complete
Digest: sha256:382dedf6b43bf3b6c6c90f355b4dda660beb3e099dqw1bb3241170e54fca6d59
Status: Downloaded newer image for phpmyadmin/phpmyadmin:latest
Creating mysql ... done
Recreating php ... done
Creating pma   ... done
Recreating nginx ... done
Attaching to mysql, pma, php, nginx
....
....
Now, try to access phpMyAdmin from the Browser using the URL http://localhost:8085. It should show the phpMyAdmin home page as shown in Fig.2.
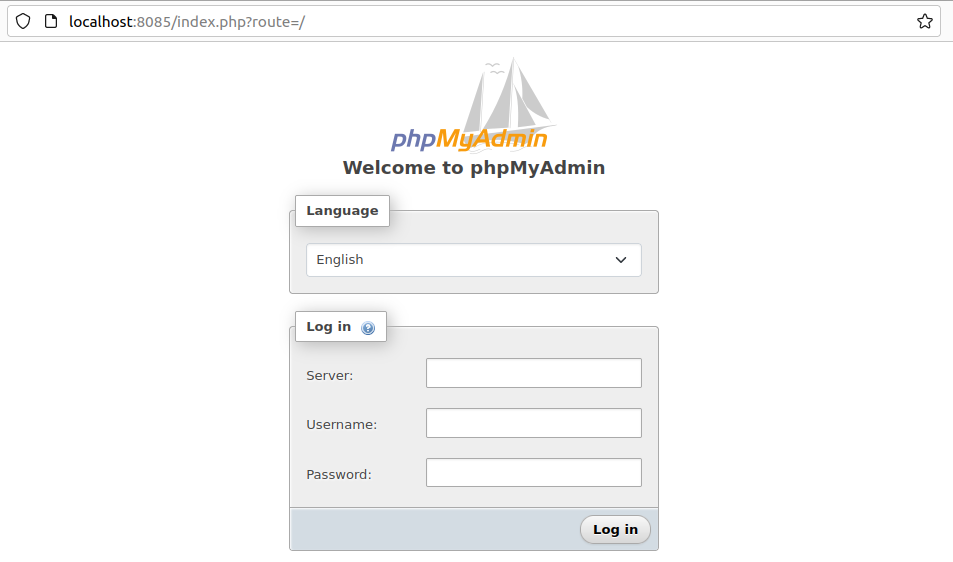
Fig 2
Now, login to phpMyAdmin using the username as root and the root password configured in the mysql.env file. Also, leave the server blank. It should show the phpMyAdmin home page as shown in Fig 3.
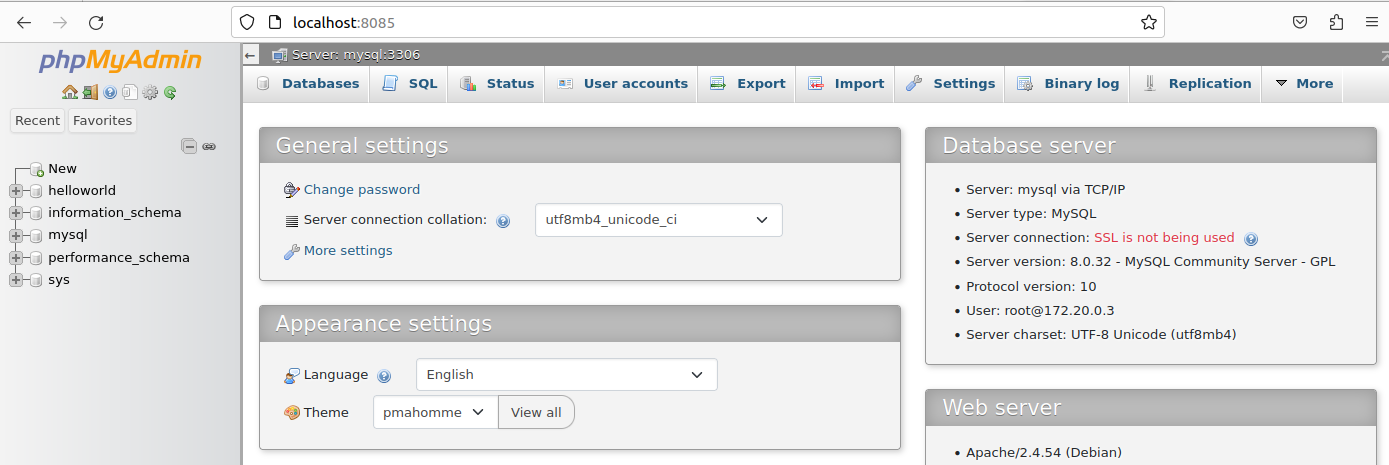
Fig 3
Press Ctrl + C to stop the containers.
# Press Ctrl + C
Gracefully stopping... (press Ctrl+C again to force)
Stopping nginx   ... done
Stopping pma     ... done
Stopping php     ... done
Stopping mysql   ... done
Now, install the PHP extensions to access MySQL from the WordPress source files by updating the Dockerfile as shown below.
# docker/php/Dockerfile
FROM php:8.1

RUN apt-get update
RUN docker-php-ext-install pdo pdo_mysql mysqli
Also, run the build and up commands to again build the application and launch it. We can test MySQL connectivity using PHP as shown below. You can also follow How To Connect MySQL Database With PHP.
# src/mysql.php
<?php
$hostname	= "mysql";
$dbname		= "helloworld";
$username	= "helloworld";
$password	= "db-password";

try {

	$conn = new PDO( "mysql:host=$hostname;dbname=$dbname", $username, $password );

	// Configure PDO error mode
	$conn->setAttribute( PDO::ATTR_ERRMODE, PDO::ERRMODE_EXCEPTION );

	echo "Connected successfully";
}
catch( PDOException $e ) {

	echo "Failed to connect: " . $e->getMessage();
}

// Perform database operations

// Close the connection
$conn = null;
If we open the PHP file using the URL http://localhost/mysql.php, it should show the output as shown in Fig 4.

Fig 4
This completes the installation and configuration of MySQL and phpMyAdmin.
Press Ctrl + C to stop the containers.
Install WordPress
In this step, we will continue with our previous steps and download and install WordPress.
Now, download the WordPress source from the Official Website as shown in Fig 5.
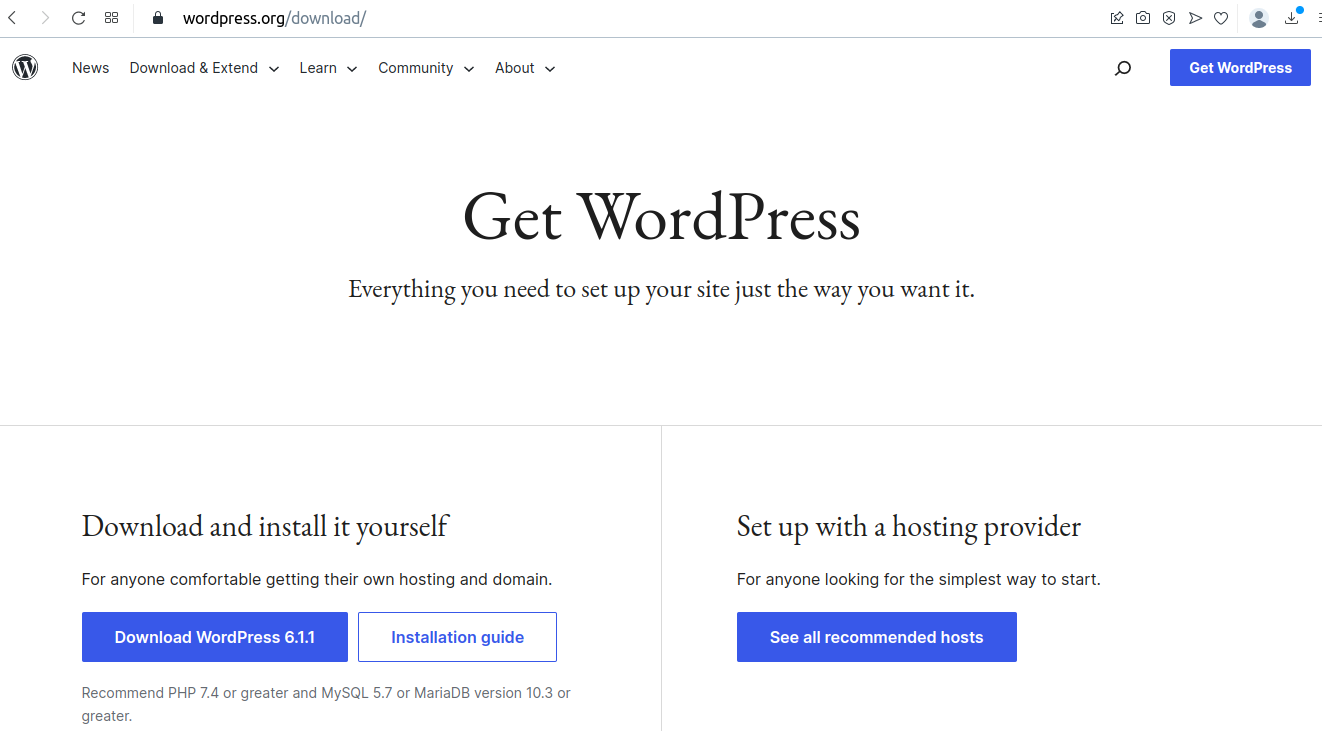
Fig 5
After finishing the download, delete the index.php and mysql.php files created by us in the previous steps so that the src directory is empty. Now extract the downloaded file and place the contents within the src directory as shown in Fig 6.

Fig 6
Also, copy the wp-config-sample.php and paste within the same directory renaming it to wp-config.php. Now configure the database as below.
<?php
....
....
define( 'DB_NAME', 'helloworld' );

/** Database username */
define( 'DB_USER', 'helloworld' );

/** Database password */
define( 'DB_PASSWORD', 'helloworldpassword' );

/** Database hostname */
define( 'DB_HOST', 'mysql' );
....
....
Note that I have used the docker container name of mysql instead of localhost as hostname, since both NGINX and MySQL are using different containers. This is all about configuring the WordPress to access MySQL database server. Now get the authentication keys and salts by following the WordPress secret-key service and update the keys and salts in wp-config.php.
This completes the installation and configuration of WordPress. Now, again launch the application by running the up command. This time, it should show the WordPress Setup Page as shown in Fig 7.
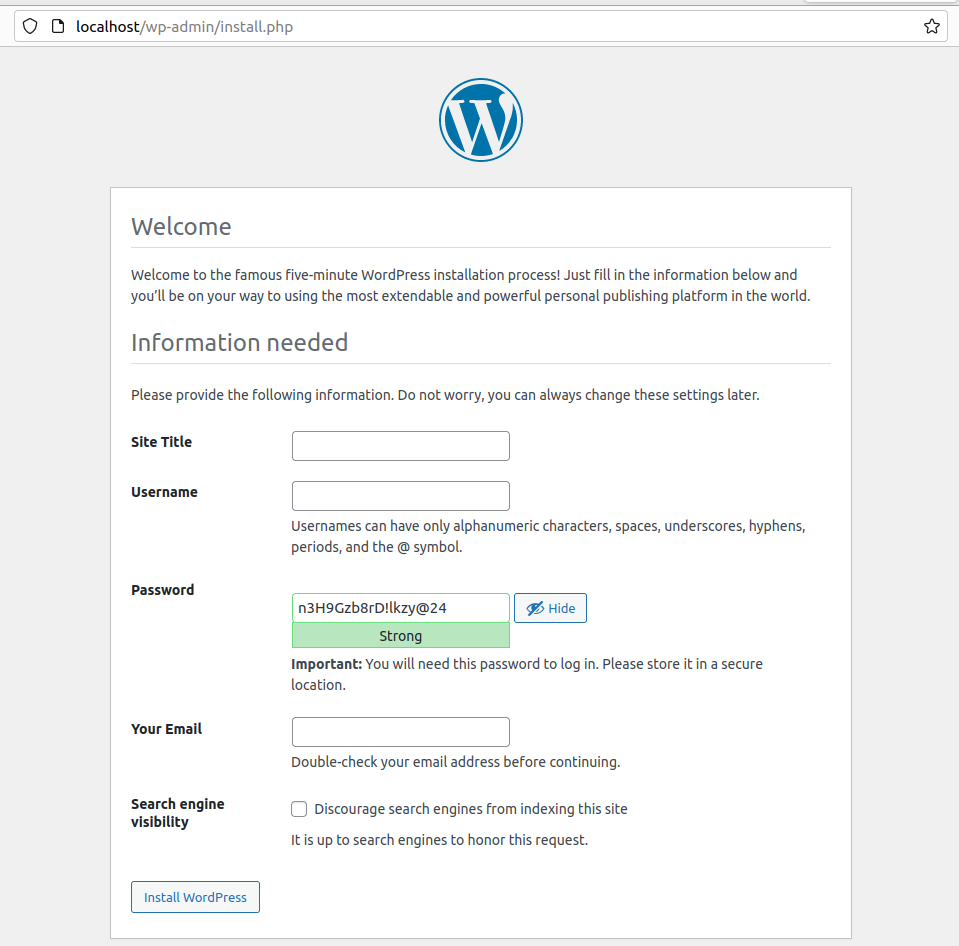
Fig 7
Now, fill-up the form and click Install WordPress Button. Also, check the checkbox to keep indexing disabled as shown in Fig 8.
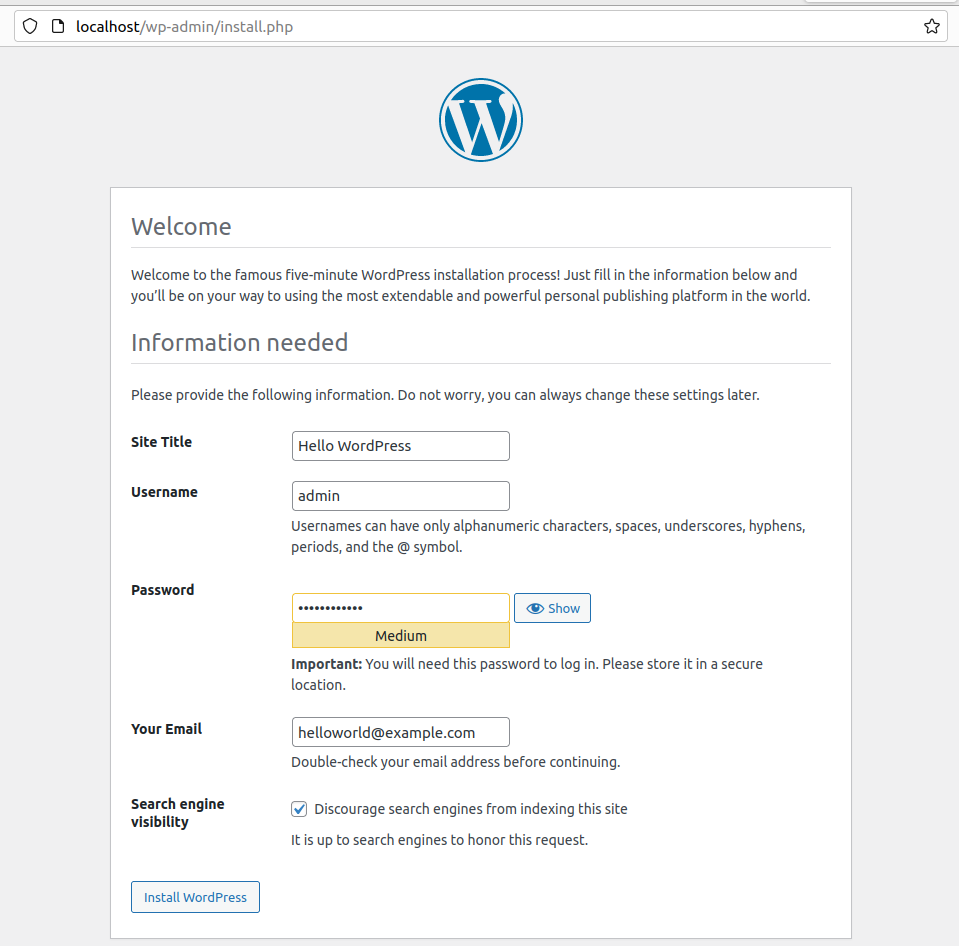
Fig 8
After completing the installation, it shows the success message as shown in Fig 9.
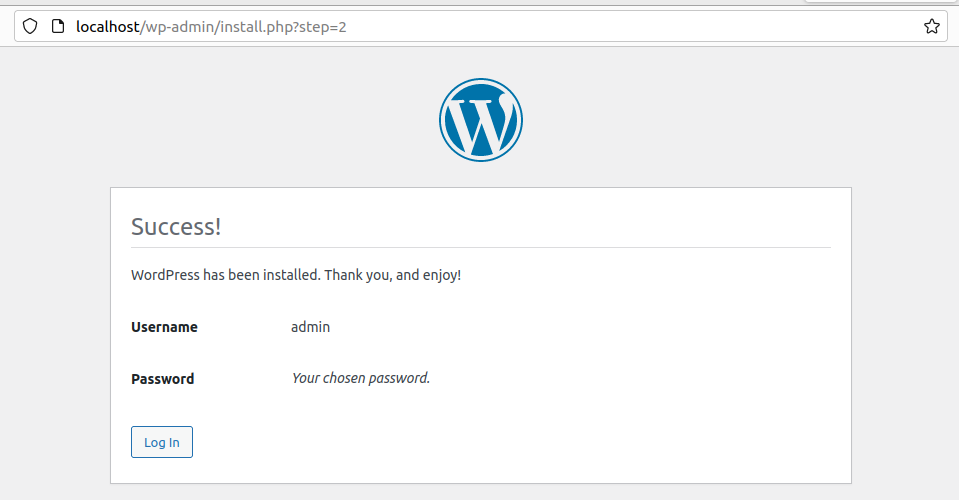
Fig 9
We can login to the Admin Panel by clicking the Login Button shown in Fig 9. It will show the options to fill the username and password to access the Admin Panel as shown in Fig 10.
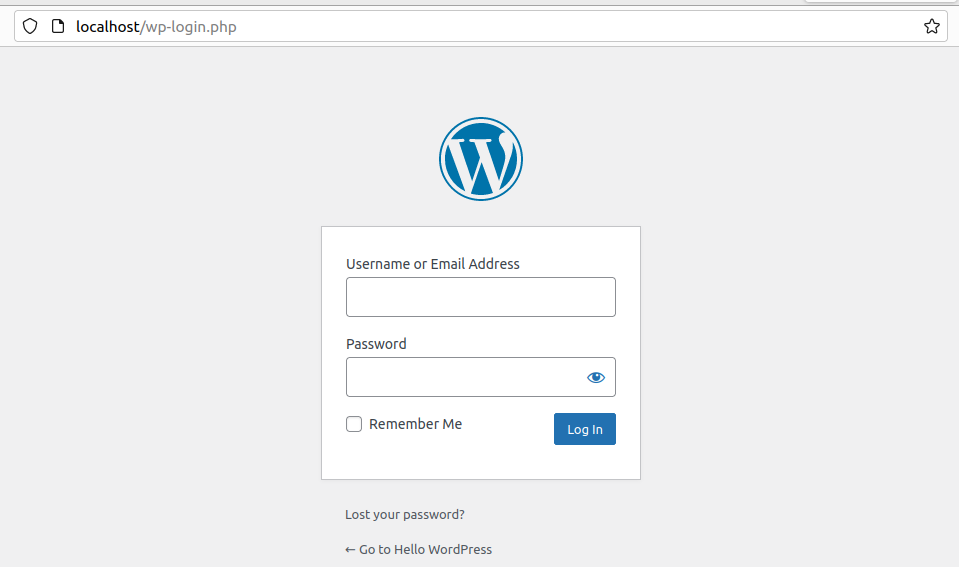
Fig 10
We can also go to the Home Page by clicking the link Go to Hello WordPress or simply opening the URL - http://localhost. This is all about containerizing the WordPress by downloding the source.
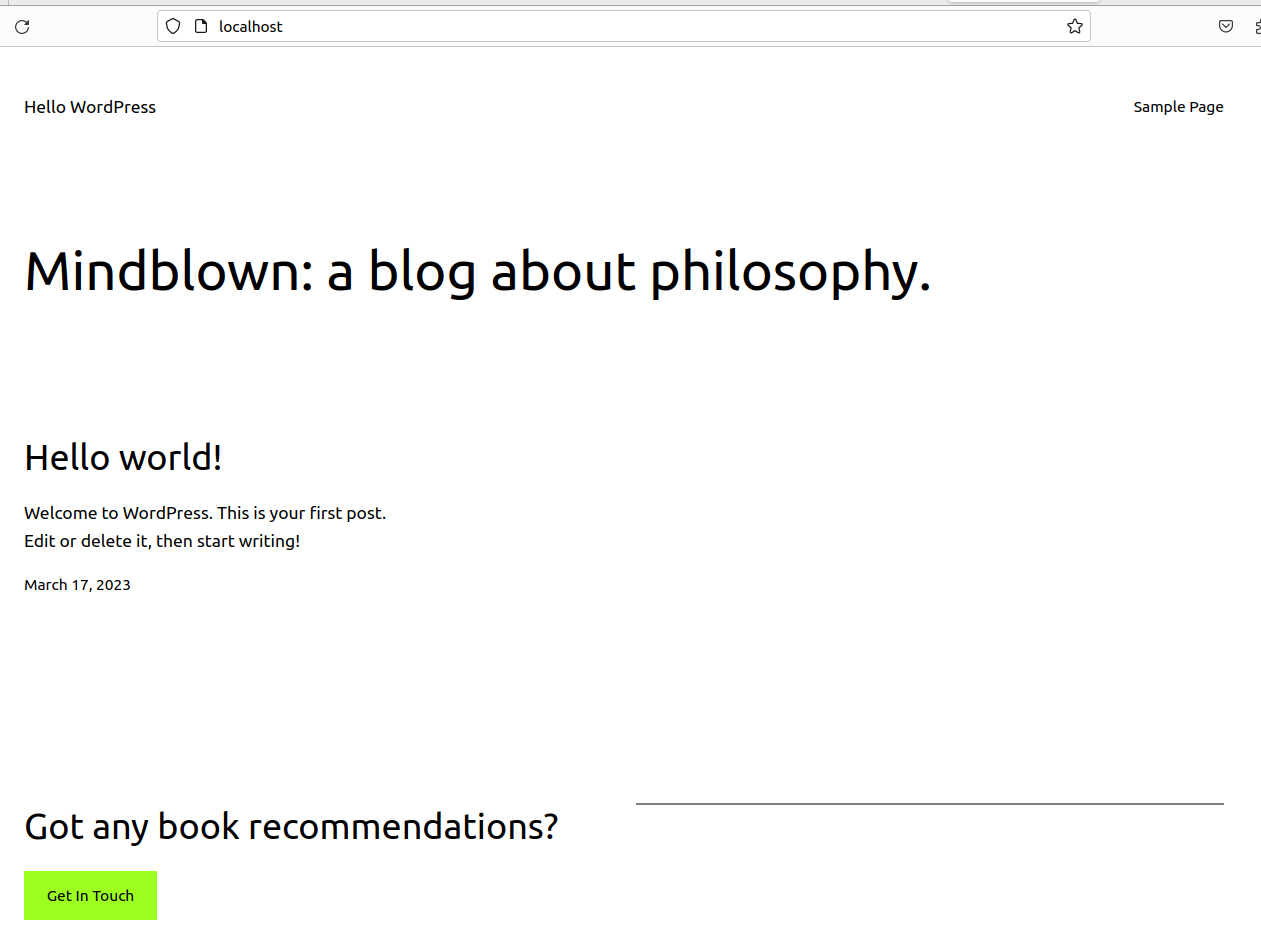
Fig 11
File Permissions
On a fresh installation, the uploads directory do not exist. Also, on linux based systems we need to provide approriate permissions so that we can install plugins, themes, and also upload files. In lack of appropriate permissions, the WordPress will show the panel asking for FTP credentials.
Instead of WordPress asking for FTP credentials to install themes and plugins, we can update src/wp-config.php as shown below.
....
....
/* Add any custom values between this line and the "stop editing" line. */

define( 'FS_METHOD', 'direct' );
define( 'UPLOADS', 'wp-content/uploads' );

/* That's all, stop editing! Happy publishing. */
....
....
Also, change the directory permissions as shown below:
sudo chown -R www-data:www-data <path to src>/wp-content
These changes will allow us to install themes, plugins, and upload files on the linux systems.
Summary
This tutorial provided all the steps to containerize WordPress with NGINX Web Server, MySQL, PHP, and phpMyAdmin using Docker containers.


